Low-Waste Packing Practices for Himalayan Treks
- Published:
- Author: by
- Categories: Climate & Environment, Trek Preparation
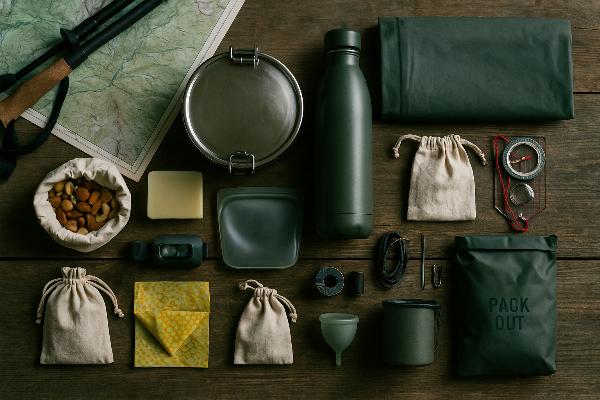
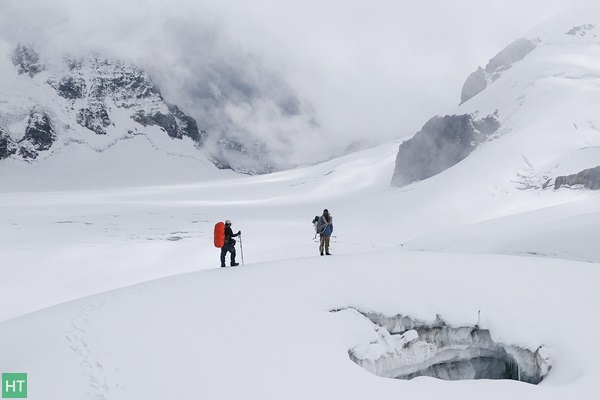
Packing for a Himalayan trek offers a chance to reduce our environmental footprint from the outset. The Himalayas’ fragile ecosystems are struggling under trekkers’ waste—for example, a recent cleanup across the Indian Himalayas found that 60% of collected plastic waste was from non-recyclable multi-layered food packaging. With limited waste management