Mixed Vacation in Garhwal: Combining Trekking and Temple Visits in Uttarakhand (2 weeks)
- Published:
- Author: by
- Categories: Ask HT – Trek Q & A, Choosing your right trek
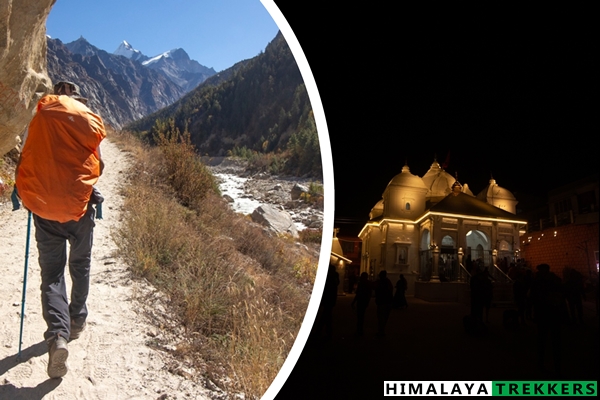
A, a fit Australian couple aged 78 and 67, wanted a comprehensive Garhwal experience that went beyond just trekking. They contacted us for what they called a “mixed tour” – two private treks (Dayara Bugyal and Gangotri-Gaumukh), but also Badrinath temple for spiritual depth, Shankaracharya’s Jyotirmath for historical context, and